How to Use a Camping Percolator for Perfect Camp Coffee
Learn how to use a camping percolator for perfect camp coffee with our complete guide. Master brewing techniques for delicious outdoor coffee.
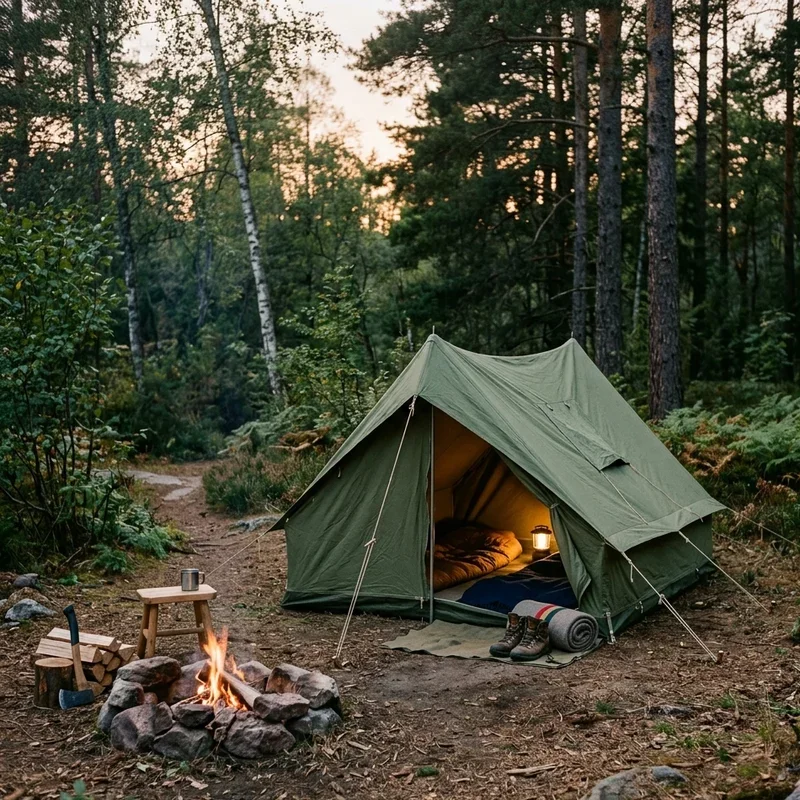
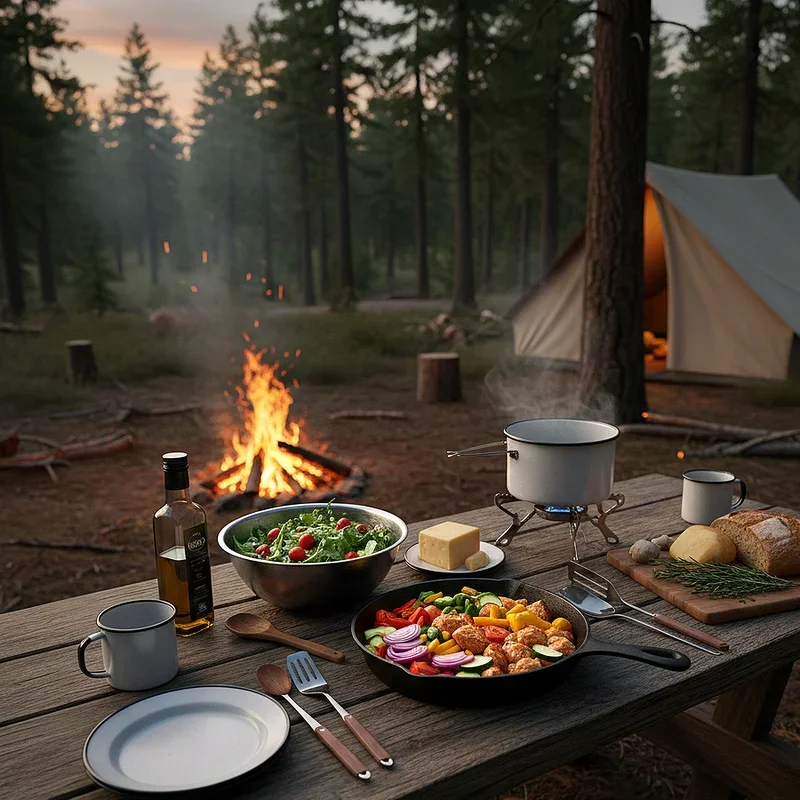
There's something almost magical about that first cup of coffee in the wilderness. The sun is just peeking over the mountains, the campfire is crackling softly, and the aroma of fresh-brewed coffee mingles with pine-scented air. It's one of those simple pleasures that makes camping feel like a genuine escape from everyday life.
Now, you could settle for instant coffee packets that dissolve into lukewarm water, producing something that vaguely resembles coffee if you squint and use your imagination. Or, you could embrace the time-honored tradition of percolator brewing and enjoy a cup that actually tastes like it belongs in a good diner.
Camping percolators have been the go-to coffee makers for outdoor enthusiasts for well over a century, and there's a good reason they've stuck around. These sturdy contraptions require no electricity, no paper filters, and no complicated gadgetry. Just water, coffee grounds, and a heat source, and you're in business.
But here's the thing about percolators. They're wonderfully simple yet surprisingly easy to mess up. Brew too long and you've got bitter sludge. Too short and it's barely colored water. Get the temperature wrong and you'll either burn your grounds or wonder why nothing's happening at all.
Learning how to use a camping percolator for perfect camp coffee transforms your outdoor mornings from caffeine desperation into genuine ritual. Once you nail the technique, you'll understand why generations of campers have hauled these metal pots into the backcountry rather than settling for inferior alternatives.
This guide will walk you through everything from choosing the right percolator to troubleshooting common problems, ensuring your camp coffee game reaches new heights.
Understanding How Percolators Work
Before diving into technique, let's demystify what's actually happening inside that pot.
The Basic Mechanics
A percolator operates on beautifully simple physics. Water in the bottom of the pot heats up and rises through a central tube. This water sprays over a perforated basket containing coffee grounds, then drips back down through the grounds and returns to the main reservoir.
As this cycle repeats, the water gradually extracts flavor, oils, and caffeine from the grounds. Each pass through the basket strengthens the brew until you've got genuine coffee rather than slightly flavored water.
The transparent knob on top, sometimes called a glass percolator top, lets you watch this process in action. Seeing that amber liquid spurting up and cascading back down tells you brewing is underway and gives visual clues about brew strength.
Why Percolation Produces Distinct Coffee
Percolator coffee tastes different from drip or pour-over methods because the brewing cycle repeatedly passes water through the grounds. This extended contact extracts more oils and compounds, creating a robust, full-bodied flavor that many coffee lovers adore.
Critics argue this produces over-extracted, bitter coffee. Fans counter that it creates bold, memorable brews perfect for outdoor adventures. The truth lies in technique. Properly managed percolation produces excellent coffee, while careless brewing creates the bitter mess that gives percolators their sometimes poor reputation.
Choosing the Right Camping Percolator
Not all percolators suit all camping situations equally well.
Size Considerations
Percolators come in various capacities, typically ranging from four cups to twelve cups or more. Think carefully about your actual needs before buying.
A solo camper doesn't need a twelve-cup monster taking up precious pack space. Conversely, brewing for a group of six from a four-cup pot means running multiple batches every morning.
Remember that "cups" in percolator measurements typically mean five to six ounces, not the eight-ounce cups you might expect. A "nine-cup" percolator actually produces about six regular mugs of coffee.
Material Options
Stainless steel percolators dominate the camping market for good reason. They're durable, relatively lightweight, and don't impart flavors to your coffee. They also clean easily and resist corrosion from outdoor elements.
Aluminum percolators weigh less but can react with coffee acids over time, potentially affecting flavor. Enamel-coated steel looks charming and works well but chips more easily than plain stainless.
Cast iron options exist for those prioritizing durability over weight, though they're generally better suited to car camping than backpacking.
Features Worth Considering
Look for percolators with secure, easy-grip handles that stay cool during brewing. Pouring from a pot with a wobbly or heat-conducting handle invites spills and burns.
A sturdy basket assembly matters too. Flimsy baskets that don't seat properly allow grounds to escape into your coffee. Quality percolators have solid-fitting components that stay put during brewing.
Glass percolator tops help monitor brewing progress, though some campers prefer all-metal construction for durability.
How to Use a Camping Percolator for Perfect Camp Coffee: Step-by-Step
Here's the actual process for brewing excellent coffee outdoors.
Preparation Steps
Start with clean equipment. Old coffee residue affects flavor, so give your percolator a quick rinse before each use. If it's been sitting in storage, a more thorough cleaning with baking soda removes any staleness.
Measure your water accurately. Most percolators have internal markings showing fill levels. Add cold, fresh water up to your desired capacity. Avoid overfilling, which can cause boil-overs that splash grounds into your coffee.
Adding the Coffee Grounds
Use coarse-ground coffee rather than the fine grind suited for drip machines. Fine grounds can slip through basket perforations, creating gritty, over-extracted coffee. Think coarse sand rather than powder.
The standard ratio is roughly one tablespoon of grounds per cup of water, but adjust to taste. Some folks prefer stronger brew and add a bit extra. Others find this ratio plenty bold.
Fill the basket evenly and avoid packing the grounds down. Loose grounds allow water to flow through properly. Compressed grounds resist water passage and produce uneven extraction.
The Brewing Process
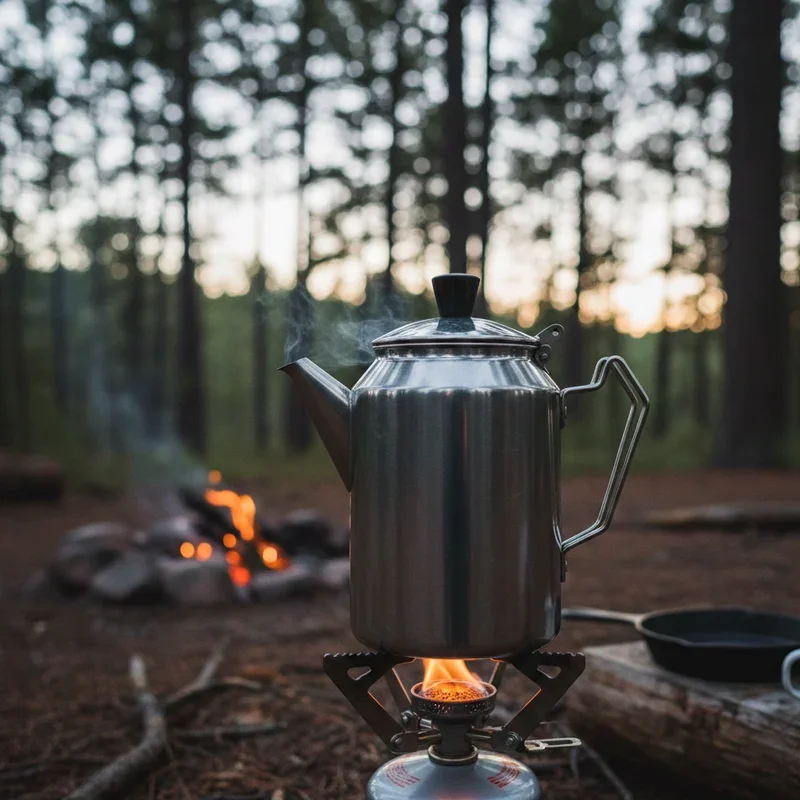
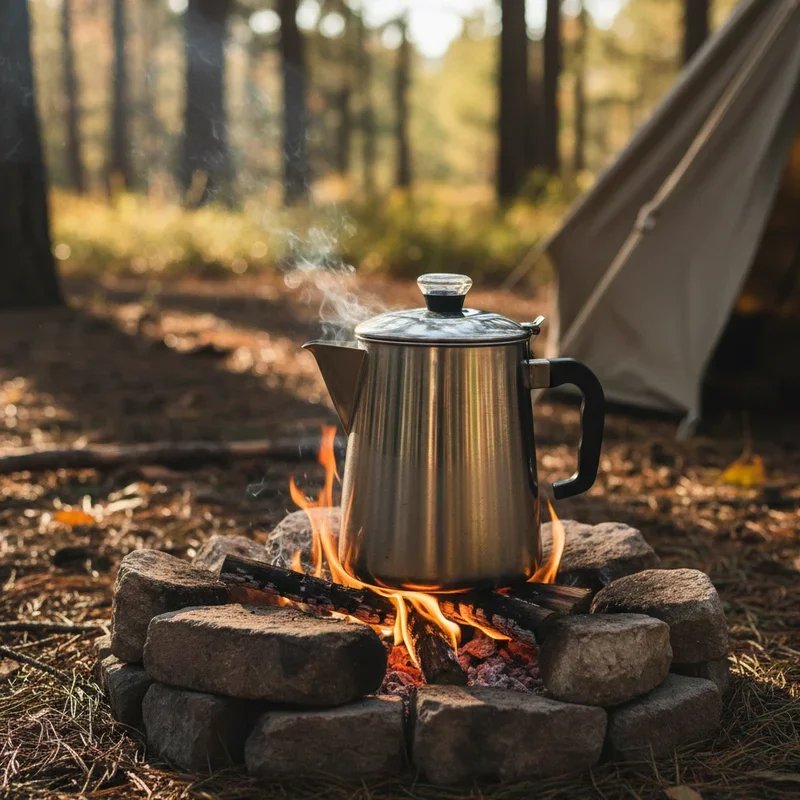
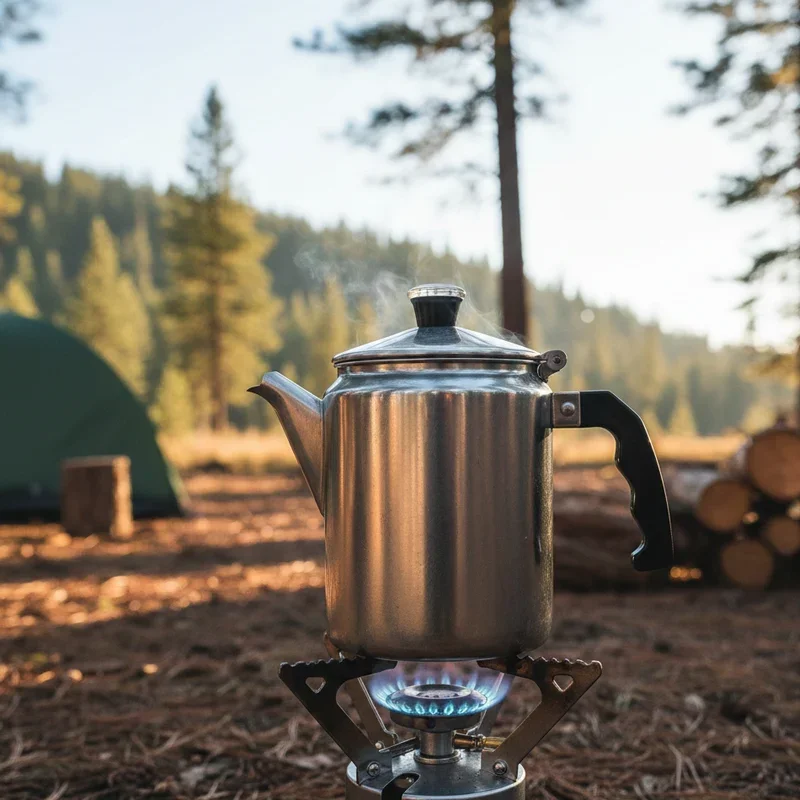
Place your loaded percolator over your heat source. This could be a campfire, camp stove, or even carefully arranged coals. The heat source matters less than temperature control.
Here's where patience becomes crucial. You want the water hot enough to rise through the tube but not so hot that it boils aggressively. Gentle percolation extracts flavor without the bitterness that violent boiling creates.
Watch the glass top. When you see steady, rhythmic spurts of coffee-colored water every few seconds, you're in the sweet spot. If it's barely perking, increase heat slightly. If it's erupting like a geyser, pull back immediately.
Timing Your Brew
Once steady percolation begins, time your brew. For most preferences, seven to ten minutes produces well-balanced coffee. Shorter times yield lighter brews, while longer times create progressively stronger and potentially bitter results.
Start checking color and aroma around the seven-minute mark. The liquid spurting through the glass top should look like coffee rather than weak tea. Trust your senses alongside the clock.
Remove from heat once you've reached your desired strength. Don't let the percolator sit over heat thinking it will stay warm without continuing to brew. It will keep extracting and overdo things quickly.
Post-Brew Steps
Let the percolator rest for a minute or two after removing from heat. This allows grounds to settle and the coffee to calm down from the brewing agitation.
Remove the basket assembly before pouring. Leaving it in place means every pour sends more water through the grounds, progressively over-extracting your remaining coffee.
Pour carefully and enjoy the fruits of your labor. There's real satisfaction in that first sip of properly brewed camp coffee.
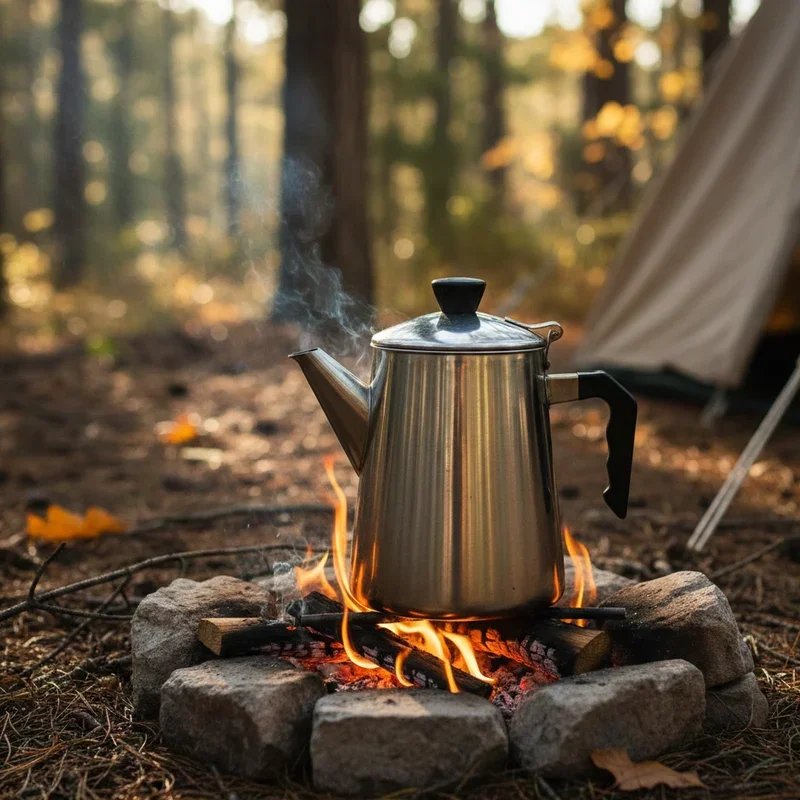
Heat Source Management
Your heat source dramatically affects brewing success.
Campfire Brewing
Cooking over open flames requires attention since fire temperatures vary wildly. Position your percolator where it receives consistent heat without sitting directly in roaring flames.
Using a grill grate over your fire pit provides more stable, controllable heat than balancing the pot on rocks. You can slide the percolator around the grate to find the perfect temperature zone.
Watch for flare-ups that suddenly increase heat. A burst of flame can take you from perfect percolation to aggressive boiling in seconds.
Camp Stove Methods
Gas camp stoves offer superior temperature control. Start on medium heat and adjust based on percolation behavior. Most stoves require surprisingly low settings once percolation begins.
Some campers bring their percolators to initial heat on high, then reduce to low once perking starts. This approach works but requires more active monitoring during the transition.
Coal and Ember Techniques
Experienced fire-builders sometimes prefer brewing over coals rather than open flame. The consistent, moderate heat produces excellent results with less monitoring.
Push coals into a flat bed and place your percolator directly on them. The heat is gentler than flames, making temperature management more forgiving.
Troubleshooting Common Problems
Even experienced camp coffee makers encounter issues occasionally.
Bitter or Over-Extracted Coffee
This usually results from brewing too long, heat too high, or grounds too fine. Shorten your brewing time, reduce heat, or switch to coarser-ground coffee.
Letting the percolator sit over heat after brewing completes causes continued extraction. Remove from heat promptly once your target time arrives.
Weak or Watery Results
Insufficient brewing time, too little coffee, or heat too low typically causes this. Extend your brewing period, add more grounds, or increase heat to establish proper percolation.
Make sure water is actually rising through the tube and cycling through the grounds. No percolation means no extraction, regardless of how long you wait.
Grounds in Your Coffee
This frustrating problem usually indicates grounds that are too fine for your basket's perforations. Switch to coarser grinds immediately.
A damaged or poorly fitting basket can also allow grounds to escape. Inspect your equipment for bent or missing parts that might create gaps.
Inconsistent Results
If your coffee quality varies unpredictably, focus on standardizing your process. Measure water and grounds precisely. Time your brews consistently. Monitor percolation rate rather than just waiting an arbitrary period.
Keeping simple notes about successful batches helps you replicate good results reliably.
How to Use a Camping Percolator for Perfect Camp Coffee: Advanced Tips
Take your percolation skills to the next level with these refinements.
Water Quality Matters
The water you use significantly affects flavor. If your campsite water tastes off, your coffee will too. Consider filtering or treating water before brewing, or bring water specifically for coffee.
Cold water produces better results than starting with warm or hot water. The gradual heating allows more controlled extraction.
Preheating Techniques
Some campers preheat their percolators with plain water before adding grounds. This stabilizes brewing temperature and can produce more consistent results.
Pour out the preheating water before adding fresh water and grounds. The warm pot helps maintain temperature throughout brewing.
Altitude Adjustments
At higher elevations, water boils at lower temperatures. This can affect extraction, sometimes requiring slightly longer brewing times to achieve comparable strength.
Pay attention to how elevation affects your results and adjust accordingly. What works at sea level might need modification at 8,000 feet.
Keeping Coffee Warm
Once brewed, you'll want to keep remaining coffee warm without continuing extraction. Wrapping your percolator in a towel helps retain heat. Some campers transfer finished coffee to an insulated container.
Never keep the percolator over heat with grounds still in the basket. This guarantees over-extraction and increasingly bitter coffee.
Cleaning and Maintenance
Proper care extends your percolator's life and improves every batch.
Daily Cleaning Routine
Rinse all components thoroughly after each use. Coffee oils and residue build up quickly, affecting subsequent brews.
If possible, scrub the interior with plain water and a brush. Avoid soap, which can leave residue that affects coffee flavor.
Deep Cleaning Procedures
Periodically boil water with a tablespoon of baking soda in your percolator to remove stubborn buildup. Let it cool, scrub, and rinse thoroughly.
White vinegar also works for descaling mineral deposits, especially in areas with hard water. Follow with plain water boils to remove any vinegar taste.
Storage Considerations
Store your percolator completely dry to prevent mustiness. Leave the lid off during storage to allow air circulation.
Wrap or protect the glass percolator top during transport. This fragile component is often the first casualty of rough handling.
Conclusion
Mastering how to use a camping percolator for perfect camp coffee elevates your outdoor mornings from mere caffeine delivery to genuine ritual satisfaction. The combination of proper grind size, careful heat management, and attentive timing produces bold, flavorful coffee that instant packets simply cannot match. With practice, you'll develop intuition for when your brew reaches perfection without constantly checking clocks. That first sip beside a morning campfire, knowing you made something genuinely good, makes every bit of effort worthwhile.
Read next: 15 Christmas in July Camping Ideas for Holiday Fun Outdoors
Frequently Asked Questions
1.How long should coffee percolate when camping?
Most percolators produce ideal coffee strength between seven and ten minutes of steady percolation.
2.What grind size works best for camping percolators?
Use coarse-ground coffee similar to sea salt texture to prevent grounds escaping through basket perforations.
3.Can I use regular pre-ground coffee in a percolator?
Standard drip grind works but may produce slightly gritty coffee since it's finer than ideal.
4.How do I prevent bitter percolator coffee?
Avoid over-brewing by removing from heat promptly and maintaining gentle rather than aggressive percolation.
5.Should I remove the basket after brewing finishes?
Yes, removing the basket prevents continued extraction that makes remaining coffee increasingly bitter over time.
Stay up to date with our latest ideas!